Monday, October 24, 2011

Sculpting and airbrushing footpads

In this tutorial you'll learn how to achieve those wonderful sculpted feet you've always wanted to give your little furry friend... :0)))

First of all, you'll have to start with a foot pad that has a wide toe area, otherwise the foot will end up quite narrow at the toes and wide at the ankle.
Stuff only the foot (not the leg), and not too full, otherwise you won't be able to sculpt it.
It's always better to do the sculpting before attaching the legs to the body. You can always add more stuffing to the foot (if you need to) after the sculpting is done. Then you can attach the legs to the body and continue to stuff the rest of the legs.

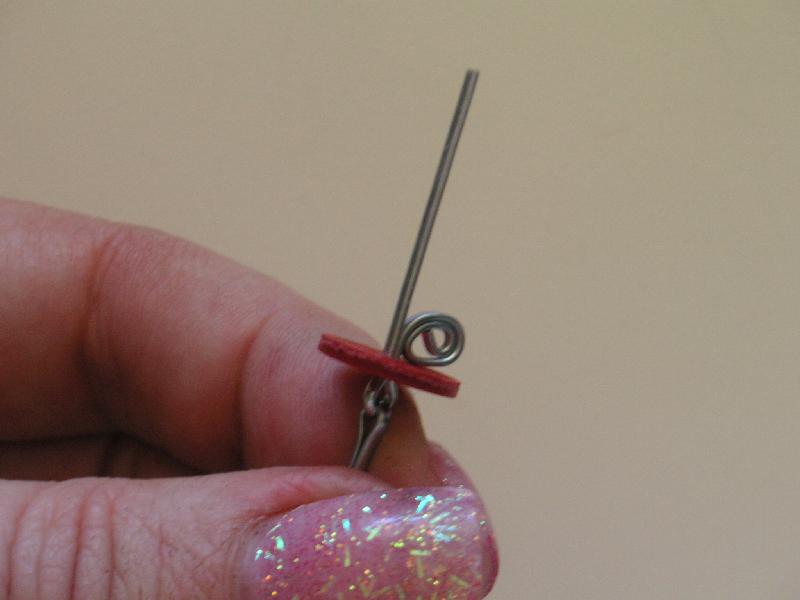
Most of my creations have 4 toes, and I use pins to mark where the needle will be inserted or exit from. There are 3 pins on the foot pad, another 3 at the front seam where the leg joins the foot pad...
 ... and another 3 at the top of the foot.


 Thread double upholstery thread on a long darner needle. Make a small knot at the end of the threads. Insert the needle into one of the side seams of the foot, right beside the toe area, and exit at the middle pin on the foot pad. Make a tiny knot.
  Insert needle next to the knot you’ve just made and come out at the top of the foot where the middle pin is.
Make a tiny stitch where the middle pin is, at the front of the foot (this will ensure the thread stays right in the middle between the toes).
Then insert the needle back in the same spot where you made the knot in the middle of the foot pad, and exit at one of the side pins at the top of the foot.
  Pull and hold thread while making a tiny knot. Now you have to big toes, one on either side of the sculpting you’ve just made.

Make a tiny stitch where the corresponding side pin is, at the front of the foot.
Insert the needle back in the corresponding side pin of the foot pad, and exit at the other side pin at the top of the foot.
 Pull thread tight and mnake a tiny knot to hold in place.

 Make a tiny stitch where the corresponding side pin is, at the front of the foot.
Then insert the needle in the corresponding side pin of the foot pad...
 ... and exit at the middle top of the foot. Pull thread tight and mnake a tiny knot to hold in place.
 To accentuate these toes even more, I run a stitch from side to side to squash the toes a little. Do that a couple of times and finish off with a couple of tiny knots.


To make these footpads come alive, I have airbrushed around the perimeter of each foot pad and each separate toe with Copic marker #E18 (Copper). Then, I highlighted each toe, as well as the middle of the foot pad, with Copic marker #R85 (Rose Red).
Hope this technique will help you make your creations come alive... :0)))
Bear hugs,
Mon.

Wednesday, August 10, 2011

Wobbly neck for mini bears

To make a wobbly neck with fibreboard discs, you'll need a pair of cotter pins, 2 discs and a pair of long nose pliers (or cotter pin turner tool).


Start by inserting one of the legs of one the cotter pins through the eye of the other cotter pin


Place a disc on one of the cotter pins


With the help of the long nose pliers, grab one of the cotter pin's leg and turn it tight over the disc


Repeat for the other leg of the same cotter pin


Run a gathering stitch around the bear's head neck


Place the set of cotter pins and disc inside the neck, making sure the straight pin is protruding out of the neck


  Pull thread and close neck opening securely with a couple of knots.


  Insert straight cotter pin through the opening at the top of the body

 
 Place disc on the pin through the back opening of the body


Turn pins legs in the same manner as before


Make sure the neck is not too tight, if it is, then pull head apart from the body slightly and this will loosen the pins a little making the head a little wobblier

Waxing noses

This is the easiest way I know to wax noses, and after reading through this tutorial, you might say ‘… why haven’t I thought of that before …?’

 Well, here are some helpful hints. It’s so rewarding to end up with a perfect embroidered nose after spending so much time giving our bear the look we’ve tried to achieve… but unfortunately that doesn’t happen very often, so to cover up some minor unevenness on our bear’s nose we can use the waxing method below.

 This is Romeo before his waxed nose:


  Place some sticky tape around the bear’s nose, very close to the edge of the embroidered nose.

Fill an empty glass jar (jam, preserves), with very hot water (only 3/4 full). Place the lid on the jar and close it tight


Get some wax and rub it on the side of the jar until you have melted a decent amount of wax to place on the bear’s nose.


Holding the jar by the top (lid) with a cloth or towel, (so you don’t burn your hand), bring the nose close to the jar and rub the bear’s nose on the melted wax


Fill all unevenness of the nose’s threads, and don’t be afraid to add more wax as needed

 If you make a boo-boo, or want to correct areas that need more wax, keep rubbing the nose against the hot jar. This will keep re-melting those areas and relocating the wax where needed.


Finally, after the wax has cooled down, get some computer or photocopying paper and rub the nose with it till it shines


  Peel off all sticky tape from around the nose.
VoilĂ ! You’ve got yourself a waxed nose..! Yeah!!


Trimming the muzzle

To trim the muzzle of your bear, you'll simply need a good pair of sharp embroidery scissors and a mohair brush (Fur Reactivator Brush).


Before you start sewing your bear's head together, simplify your task ahead by trimming all the fur from the front part of the head gusset, right up to where the eyes will be placed on either side of the head gusset

Like this.


Then you can proceed to pin and sew the head gusset to the head sides.


  You'll find that this step will make it easier for you to sew the pieces together.
Finish sewing the head, turn right side out and stuff nice and firm. This is how your bear's head should look so far


Following the 2 photos below, trim fur from the chin area in a straight line, just like an upside down 'crew cut'


  Next, trim all fur around the area where the nose will be embroidered (having a wool felt template of the nose will help you see how much to trim off. Also trim a very narrow area around the seam line at the front, where the septum and mouth will be embroidered as well.


Next (if the bear you're making has dense fur), trim a very narrow line from the neck area towards where the eyes will be placed. this will define the cheeks area much more. Omit this step if you're making your bear out of sparse mohair


This is what it looks from one side 


  ... and the other


  And last, trim the fur around the eye areas


Like this